Schedule Management
Schedules are an important concept in bit-Agent. By configuring task information and triggers, you can make work run automatically. Automatically triggered execution is the ultimate romance of Agents.
A schedule can be understood as:
task template + trigger
When a schedule is created, all required execution parameters are prepared ahead of time, then the system simply waits for the trigger to run it.
Create a Schedule
There are two ways to create a schedule: from the console or from a conversation.
Create from the Console
To create a schedule, you need to fill in the following information:
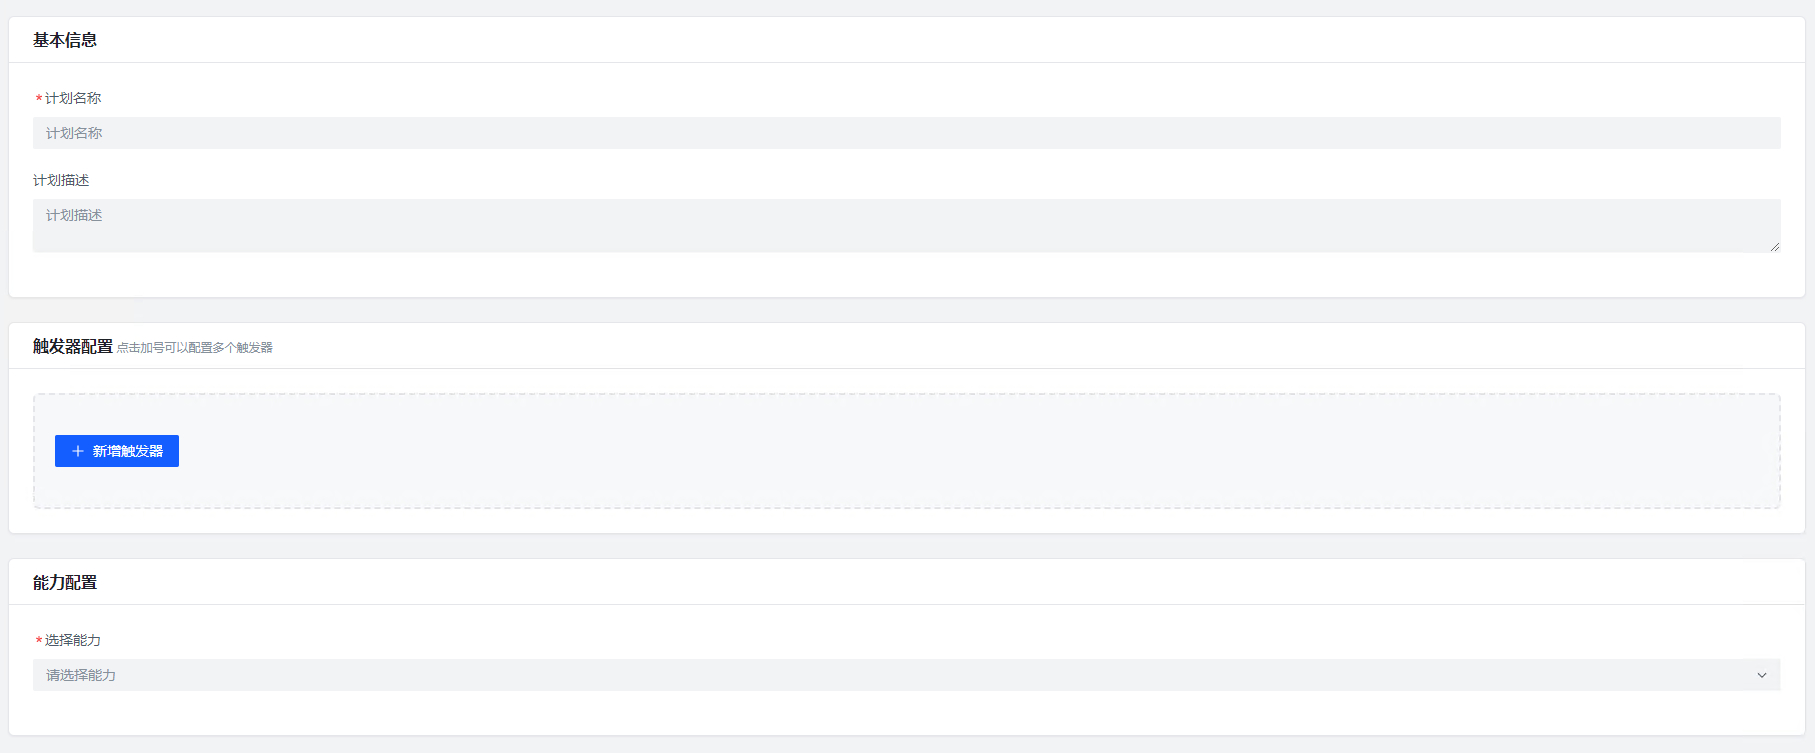
Basic information:
- Schedule name
- Schedule description
This information is for users to identify and differentiate schedules.
Triggers:
Multiple triggers are supported, and they all take effect at the same time. If several triggers fire at the same moment, the schedule only runs once.
Scheduled trigger configuration:
Scheduled triggers include recurring schedules and one-time schedules.
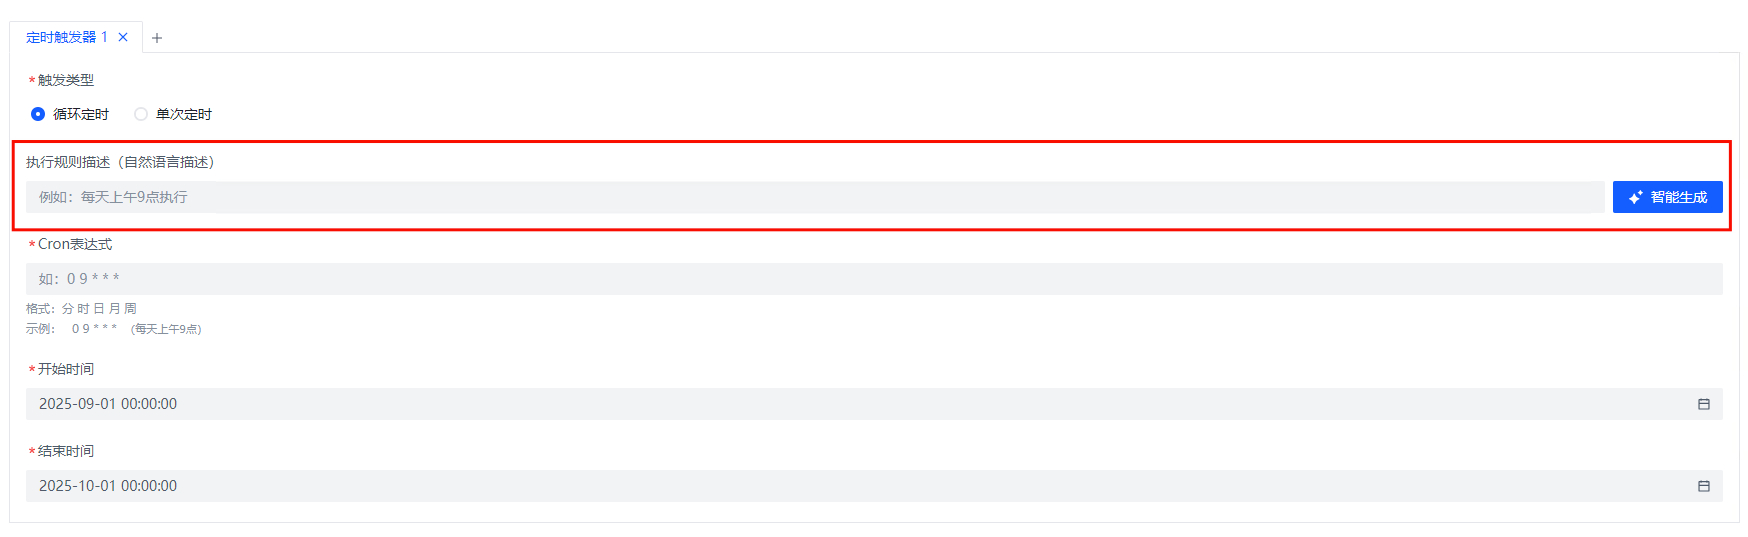

- A recurring schedule requires a CRON expression plus a start time and end time. Do not worry if you are unfamiliar with CRON syntax. Just describe your requirement in
Execution Rule Descriptionand click intelligent generation to create the expression automatically. You can verify the result using the explanation shown below it. - A one-time schedule requires a specific execution date and time.
Task configuration:
Configure task-related parameters including selecting a capability, configuring input and output parameters, choosing the executor, and more. See Create a Task.
Disable a Schedule
Disabling a schedule disables all triggers under that schedule. A disabled schedule can still be run manually, but it will no longer be triggered automatically.