Call a bit-Worker Workflow
You can call workflows generated by bit-Worker directly from a bit-Agent conversation.
This feature requires configuration across multiple systems. Follow the steps below.
1. Configure bit-Worker
Go to the bit-Worker system to edit your workflow, and follow the documentation to create a network-request-triggered schedule.
I. Open Console -> Schedule Management.
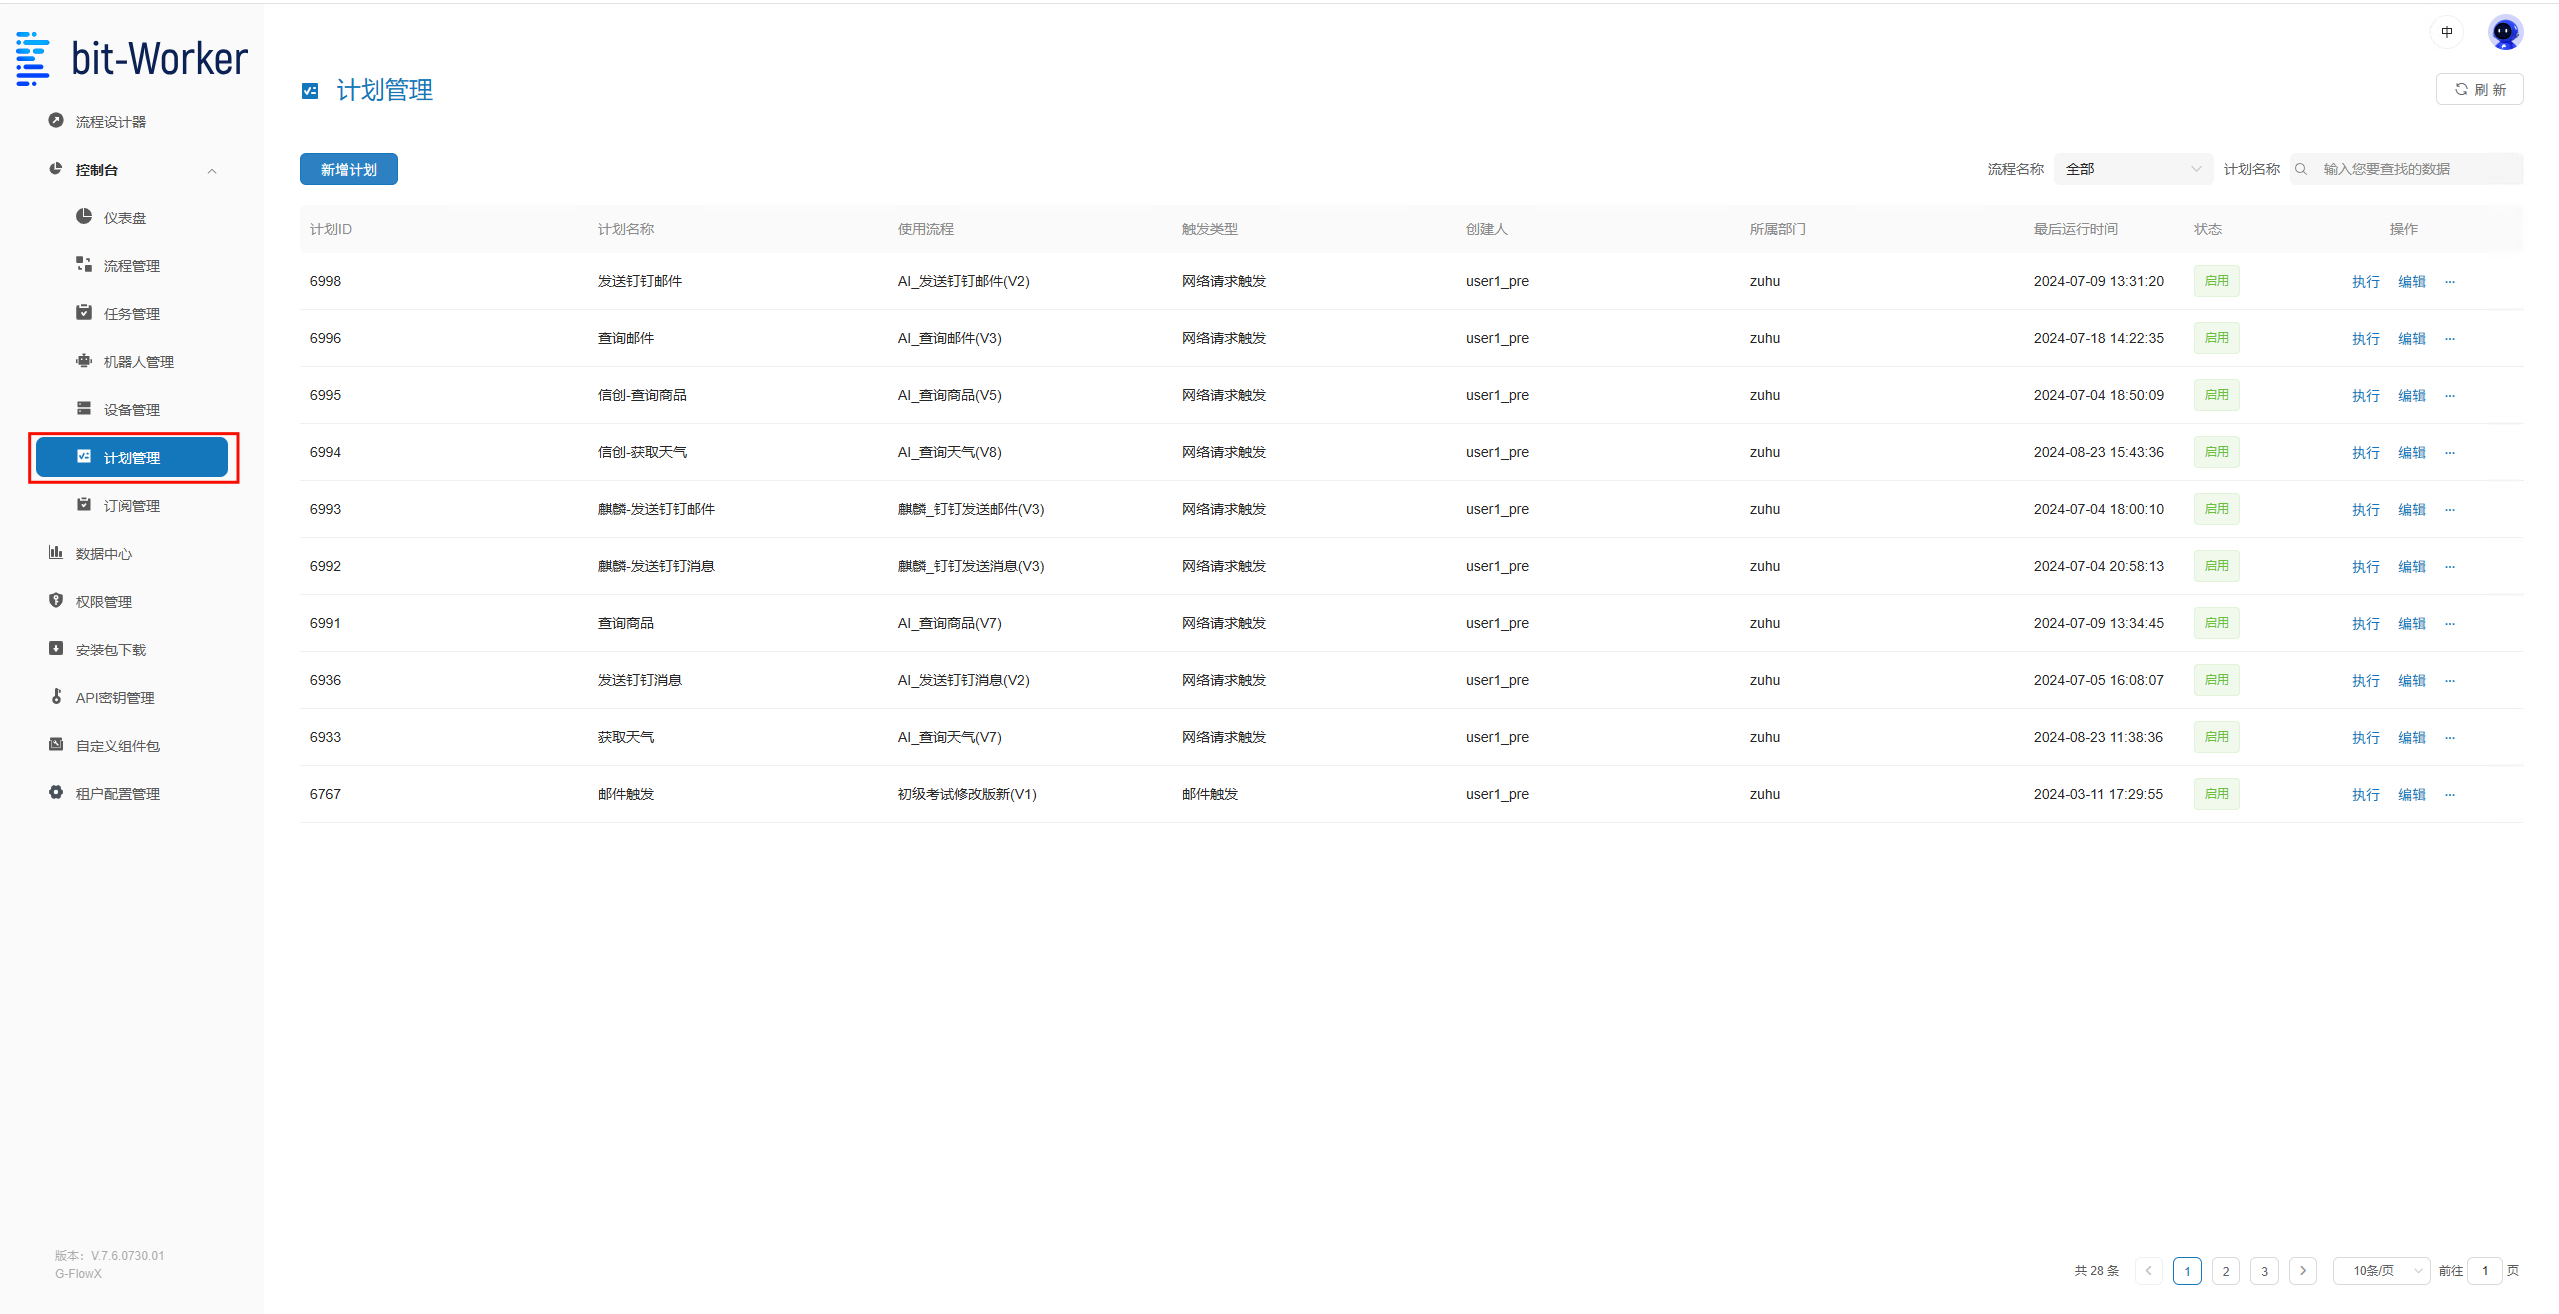
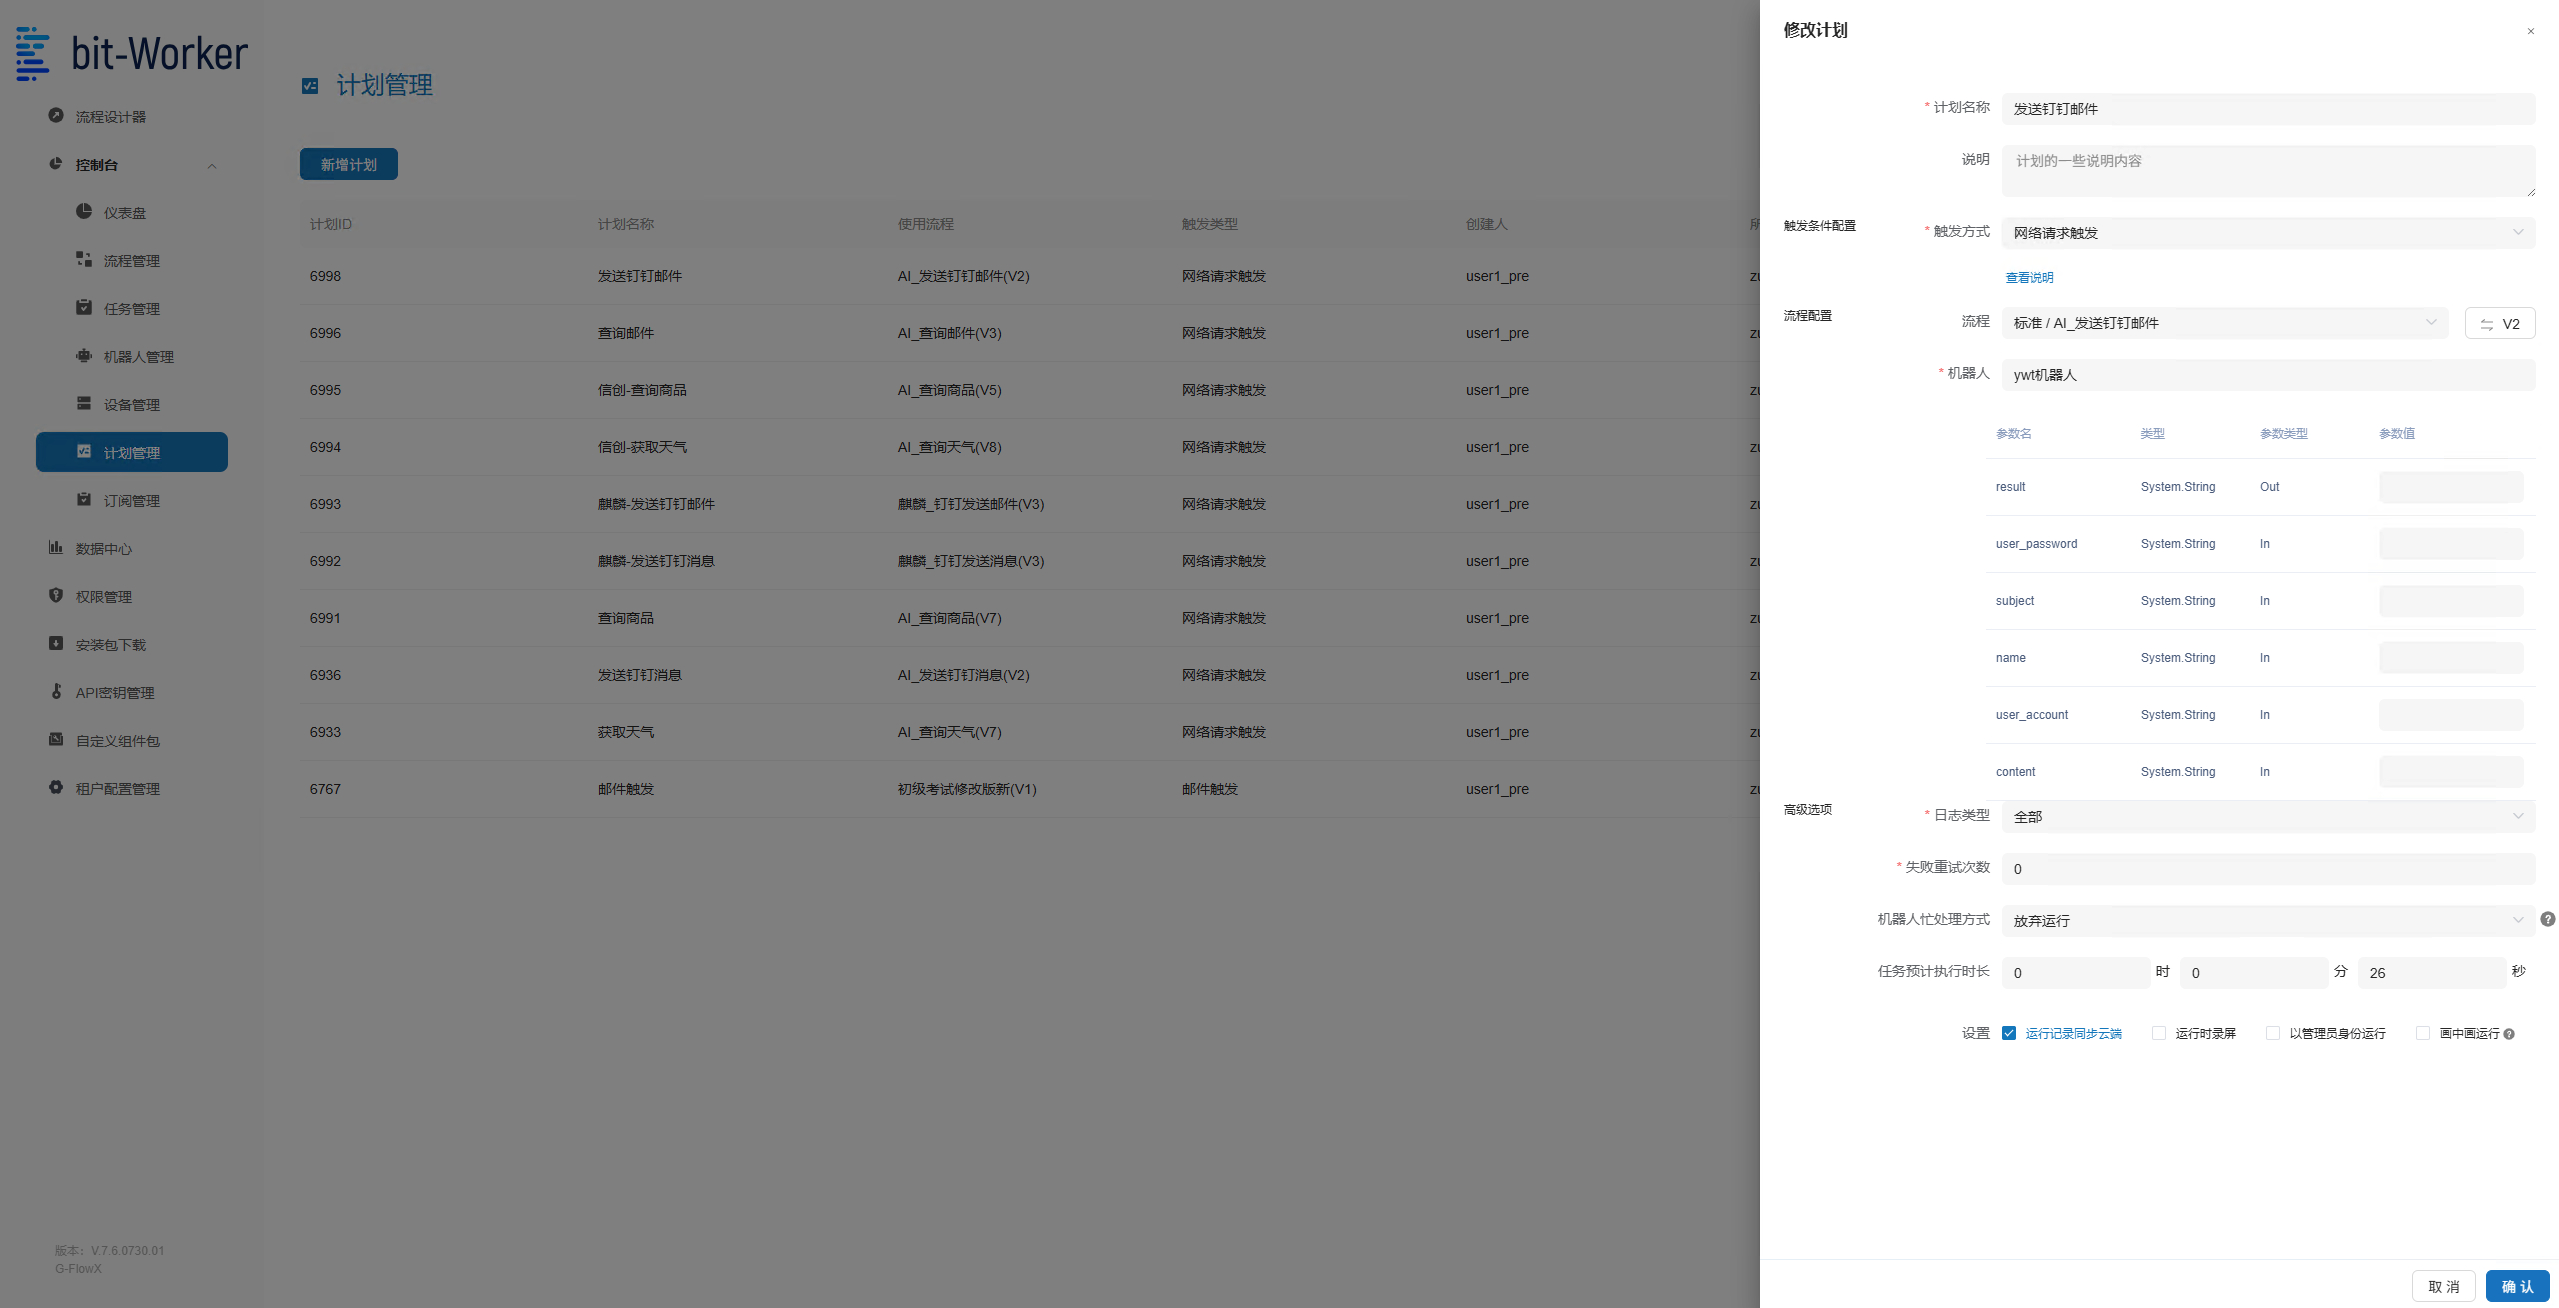
II. Create a new schedule and choose the target workflow.
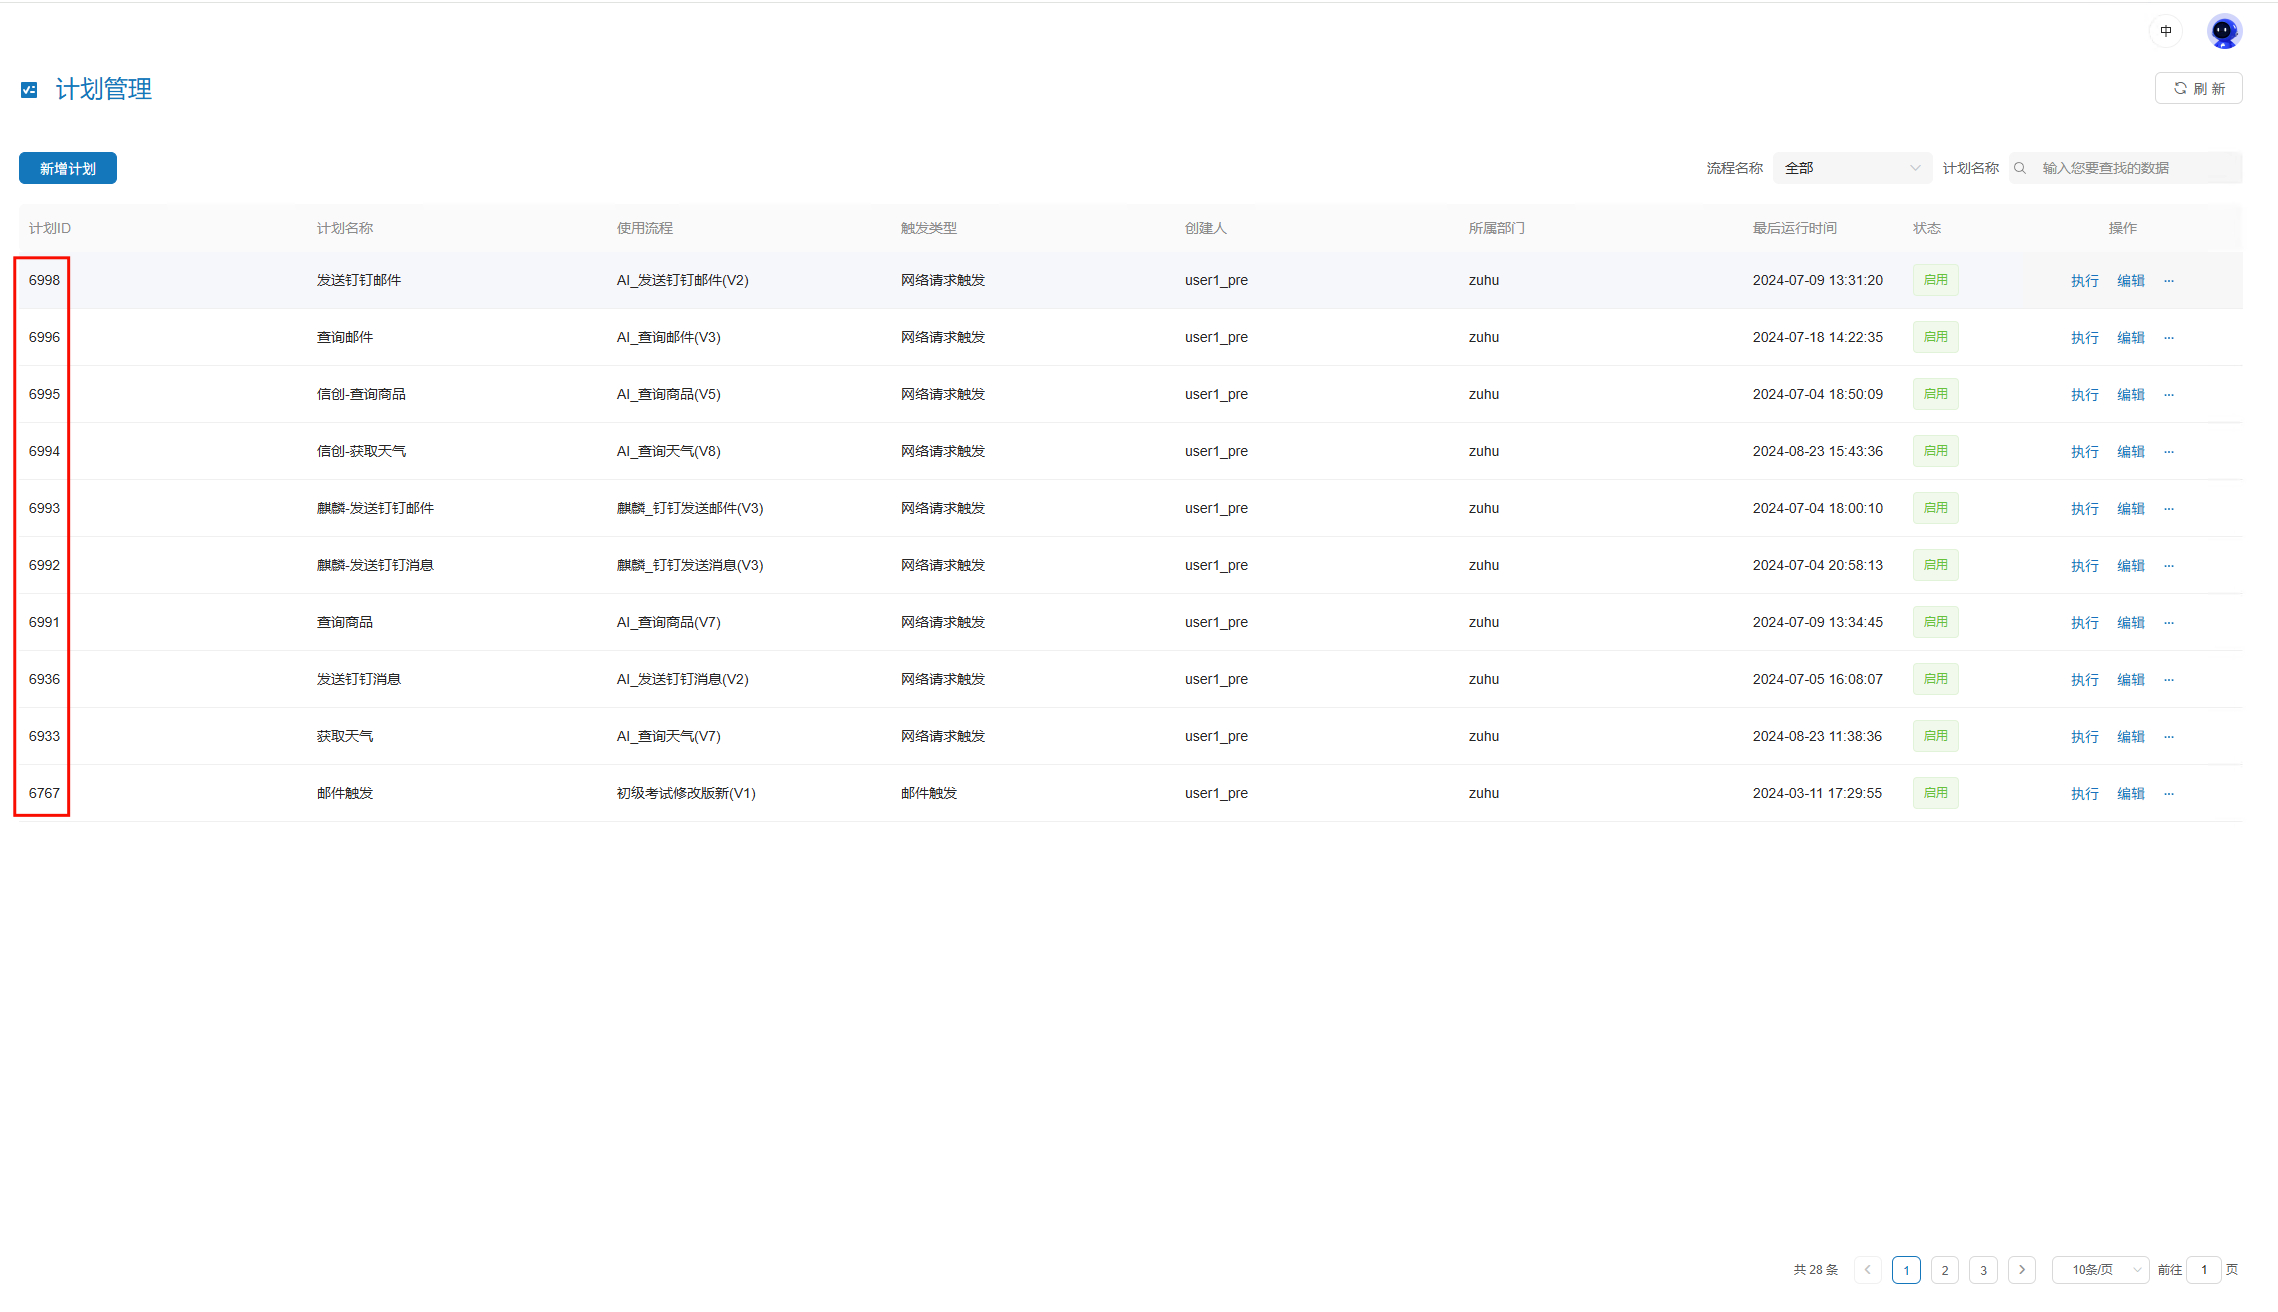
III. After creation, remember the schedule ID shown here. You will need it on the agent capability configuration page.
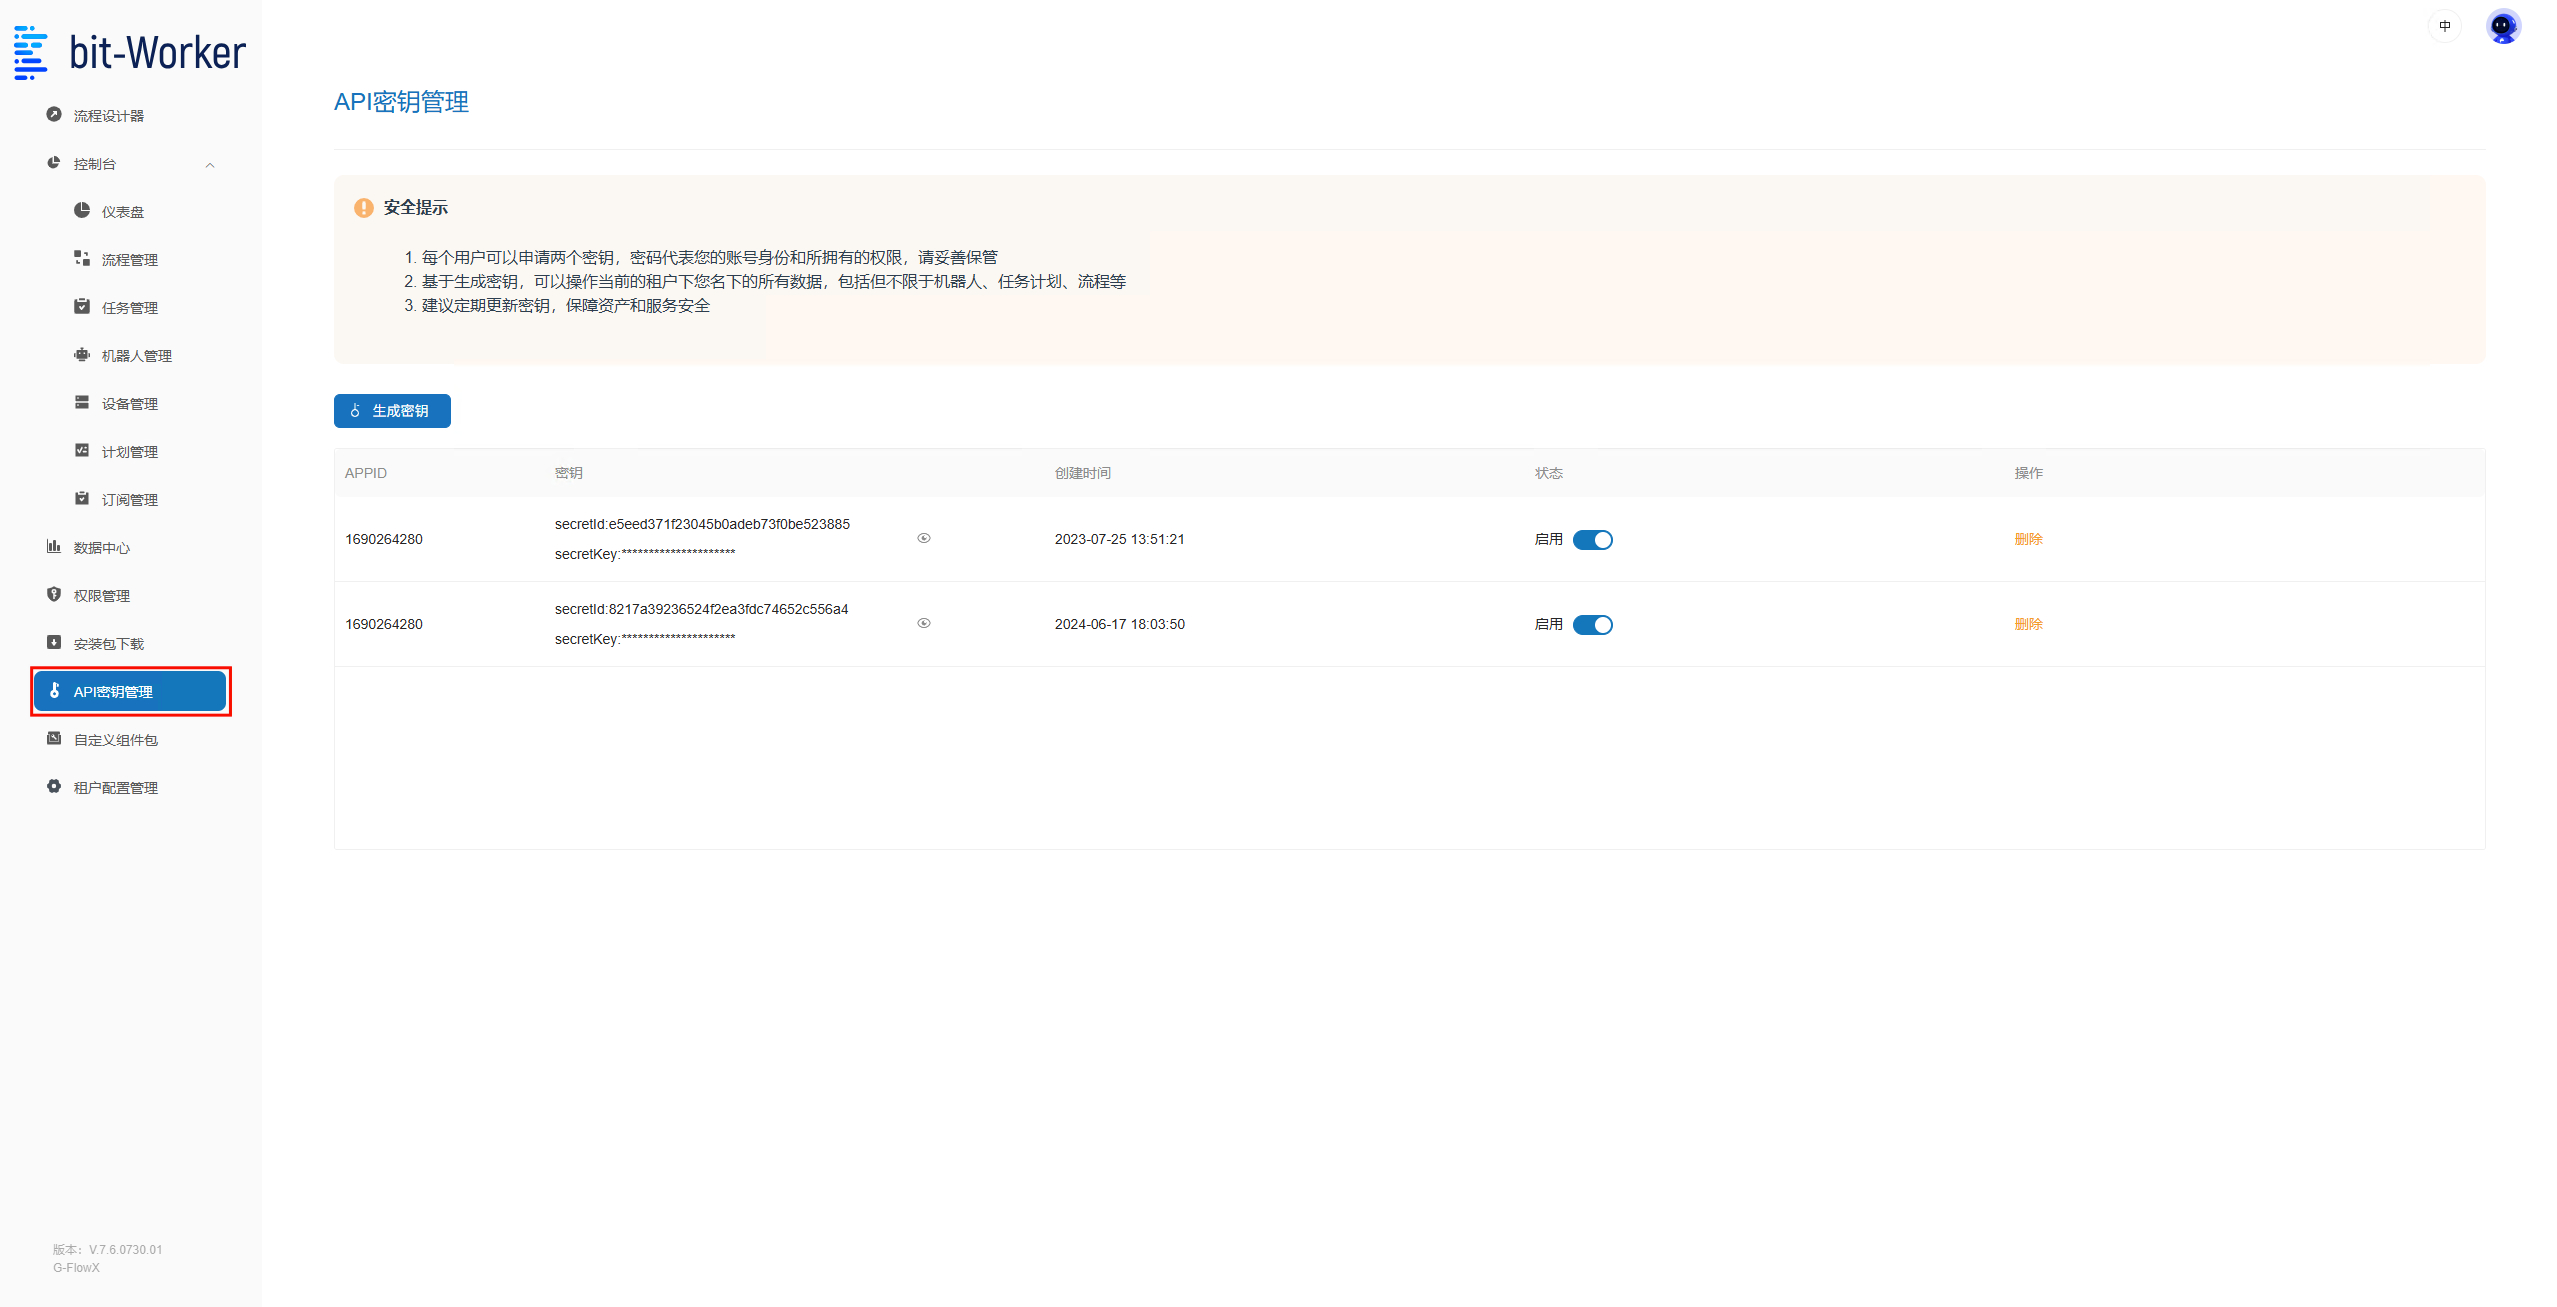
IV. Open API Key Management to generate a key and copy it. Note: only tenant administrators can retrieve the system secret-id and secret-key.
2. Configure the Agent Capability
Go to the agent capability configuration page, sign in, and continue setup. You can sign in with either a bit-Agent account or a bit-Worker account.
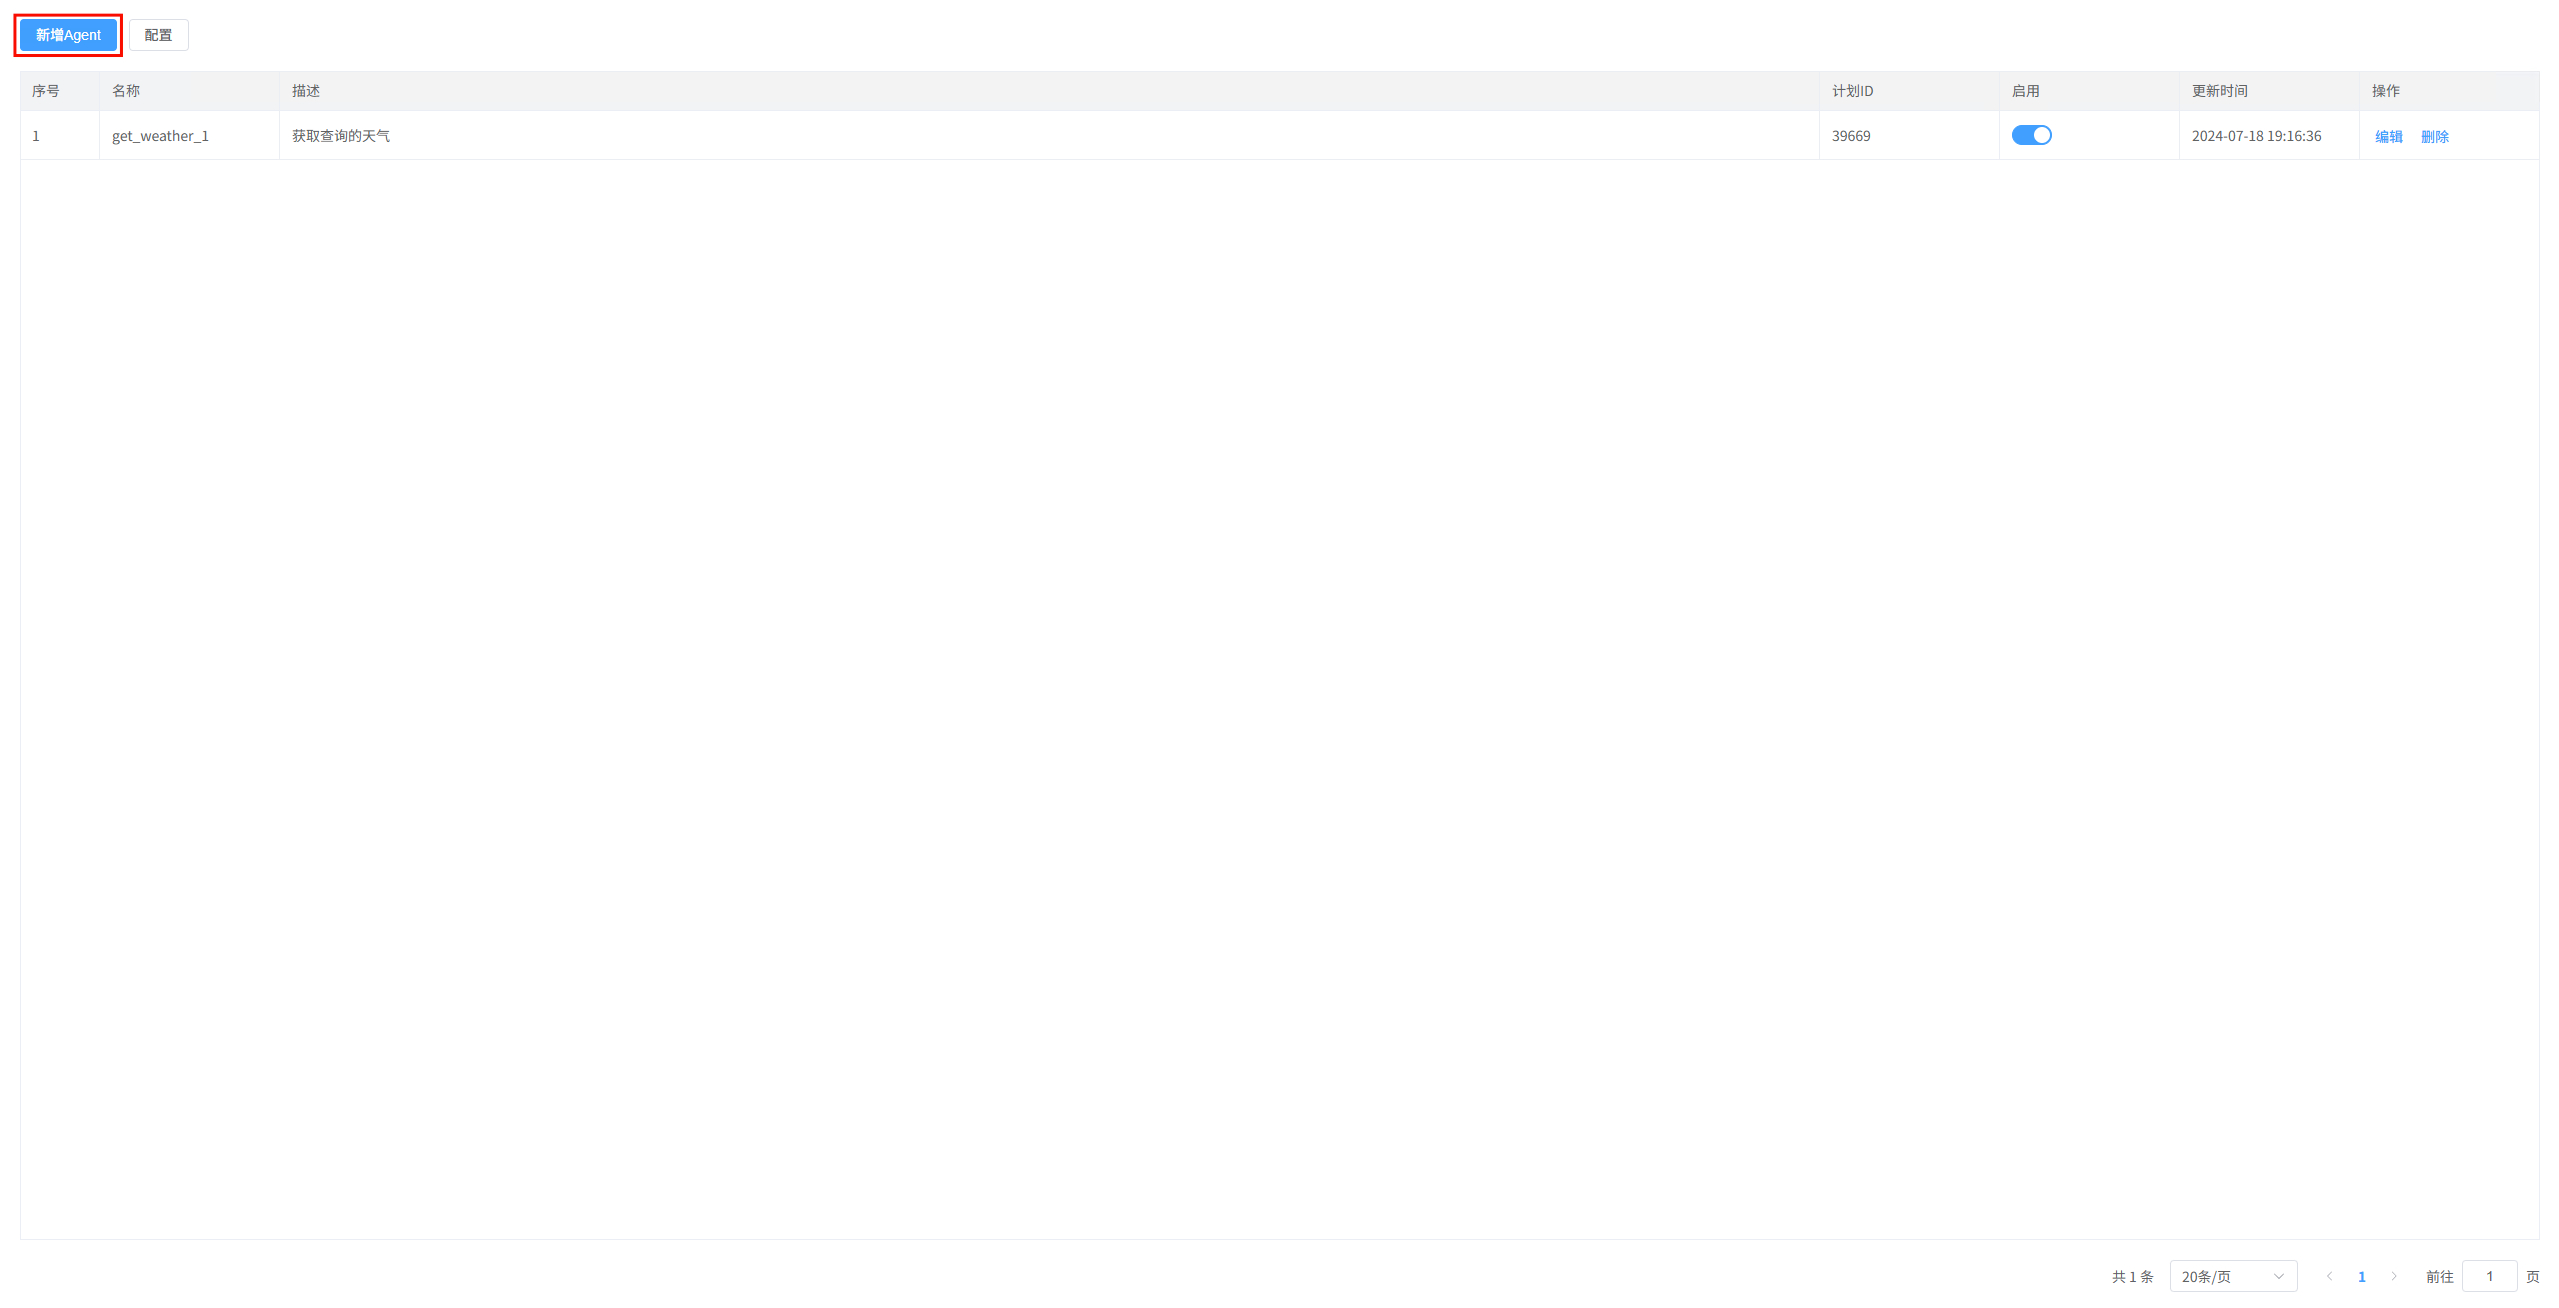
I. Click Add Agent to open the dialog.
II. Fill in the Agent configuration:
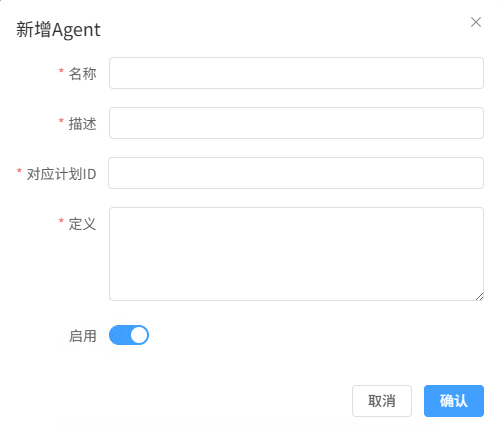
- Name: must be unique and contain only letters, numbers, and underscores, for example
rpa_test - Description: explains when this workflow should be called. The model uses this description to decide when to invoke it, so complete this field carefully.
- Schedule ID: the schedule ID created in bit-Worker
- Definition: a JSON Schema that describes the workflow inputs. Names, types, and required fields must exactly match the workflow input definitions. Use
descriptionfields to explain meanings and valid values clearly so the model can call it correctly. Put required fields intorequired.
Example:
{
  "type": "object",
  "properties": {
    "num": {
      "type": "integer",
      "description": "Loop count, default is 10"
    },
    "con_str": {
      "type": "string",
      "description": "The parameter value to check"
    },
    "flag": {
      "type": "boolean",
      "description": "Controls output content, default is false"
    }
  },
  "required": ["con_str"]
}
III. Configure the bit-Worker key and generate a new Agent OpenAPI key.
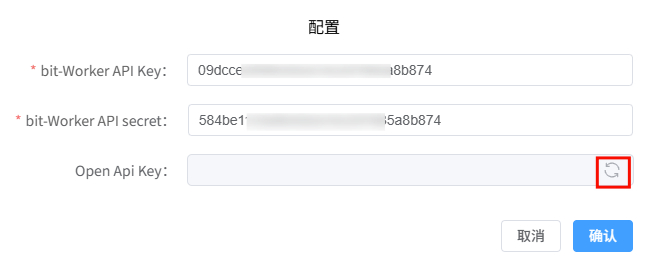
Where:
bit-Worker API Keymaps tosecret-idbit-Worker API secretmaps tosecret-key
After filling them in, click Generate and copy your AgentOpenApiKey.
3. Configure MCP in bit-Agent
Use bit-Agent's Configure MCP Services page and add the configuration below:
{
  "mcpServers": {
    "bit-Worker-Agent": {
      "type": "sse",
      "args": {
        "url": "https://agent.ninetechone.com/mcp/sse",
        "headers": { "Authorization": "AgentOpenApiKey" },
        "timeout": 5,
        "sse_read_timeout": 300
      }
    }
  }
}
Pay particular attention to these parameters:
url: required. Use the value from the example. For private deployments, replace it with your own address.headers: required. Follow the example format and replace the value with your ownAgentOpenApiKey.timeout: request timeout in seconds. Optional, default is 5.sse_read_timeout: timeout while waiting for execution in seconds. Optional, default is 300. Increase it if the RPA workflow takes longer to run.